How to start a jewelry business.
An eight-step playbook for going from a design idea to a live store with a made-to-order collection. No warehouse, no bulk minimums, no inventory to gamble on. This is the path I wish I had when I started.
By Karissma Yve · Founder and CEO, Gildform · Author of Start A Jewelry Brand
The short answer.
You can start a jewelry business from home without owning a bench or holding inventory. With on-demand manufacturing, you design a piece, a partner produces it only when a customer orders, and you keep your startup cost in the hundreds instead of the thousands. The work is not making the metal. The work is building a brand people want to carry, pricing it so it can grow, and getting your first collection in front of the right customer. Do those three things and everything else follows.
Step 01
Define your why.
The purpose that makes every later decision easier
Before you design a single piece or choose a platform, get honest about why your brand deserves to exist. Your why is not a tagline you post and forget. It is the operating system for every decision that comes after it, and it is allowed to grow as you do.
Mine started as jewelry that told stories and grew into building the infrastructure that lets other creators tell theirs. Yours will be its own thing. What matters is that you define it, because if you do not, the market will define it for you, and you will not like what it says.
Do this now: Write one or two sentences that finish the thought, “My brand exists because.” Keep it specific enough to guide a real decision. If you get three steps down the road and feel scattered, this is the sentence you come back to.
Step 02
Know your customer.
Who you serve, and who you are not for
The most commercially successful independent designers are not the ones who make whatever they feel like and hope someone connects. They are the ones who deeply understand what their customer wants to own, then express their own creativity inside that space. That is not a limit on your creativity. It is a focus for it.
Get concrete about one person. What do they wear, what do they already buy, what do they want a piece of jewelry to say about them, and what would make them choose you over the brand they shop from now. The clearer this person is, the easier every later choice becomes, from materials to price to the words on your product page.
Do this now: Write a short profile of your ideal customer, including the brands they already love and the moment they would wear your piece. Then name who you are not for. Both make the brand sharper.
Step 03
Build your brand identity and story.
The look, voice, and reason people remember you
Your brand is what makes a piece of jewelry worth more than the metal it is made from. Two pieces can have identical production costs and sell at very different prices, because one has a brand behind it that the customer wants to belong to. That value is built on purpose, and you build it here.
Pull together the pieces that make you recognizable: a visual identity, a consistent voice, and a story that connects your why to the customer you defined. You do not need a design degree for this. You need consistency and a point of view.
- Visual identity: your colors, type, logo, and the way your product is styled and shot.
- Brand story: where this came from, what you believe, and why it matters to the person wearing it.
- Voice: the way you sound in a product description, an email, and a caption, used the same way every time.
Do this now: Draft a one-page brand foundation covering your why, your customer, your look, and your voice. This becomes the reference you check every design and every piece of copy against.
Step 04
Choose your platform.
Where your brand lives and how it gets made
One of the most common early mistakes is launching everywhere at once. More channels sound like more customers. In practice it means divided attention, an inconsistent brand, and a workflow that drains more energy than it returns. Start focused and expand on purpose.
For a brand-first, story-driven jewelry line, I recommend Shopify as your home base paired with Gildform for production. Shopify gives you full brand control and an email list you own. Gildform connects to it through a Shopify app so that when an order comes in, it flows straight to production. Etsy can bring search traffic later as a discovery channel, but treat it as a way to send customers back to the store you own.
Here is how the Shopify and Gildform stack works end to end:
- You design your products in Gildform, or upload your own, and set material, finish, plating, and dimensions.
- You connect Gildform to your store through the Gildform app in the Shopify App Store.
- Your products sync to Shopify with your pricing, variants, and images.
- A customer orders on your store, inside your brand, not a generic marketplace.
- The order flows automatically into Gildform’s production queue.
- Gildform makes the piece to your exact specifications and ships it directly to your customer under your label.
- No inventory, no minimum orders, no warehouse. Your job is to design good products, build a brand, and drive traffic. Gildform handles everything between the order and the delivery.
Do this now: Create your Shopify account, choose your store name, install the Gildform app, and connect the two. You are only setting the foundation here. Product comes next.
Step 05
Design your first collection.
From idea to a production-ready 3D model
There is a moment I have watched happen hundreds of times, somewhere between uploading a design and seeing the production render come back. The abstract becomes real. People say the same quiet thing: oh. I made that. This step is about getting you to your oh moment.
Start with a design brief in writing. It answers what you are making, for whom, and why: product type, aesthetic direction, an inspiration reference, target material and finish, the customer context, and your target price. A clear brief makes everything that follows faster.
Then turn the brief into a production-ready 3D model. With Gildform you have two pathways, and you can use either or both:
- Design with Gildform’s AI tools. Enter your description and upload a sketch or reference image, and the platform generates a production-ready 3D model in minutes. Use Gildform Express for a fast single pass, or Gildform Interactive when you want to refine and perfect the details. When the model is ready, the Make It Real step lets you choose material and finish, add engraving, and send it straight into production.
- Hire a CAD designer. For ultra-complex or highly customized pieces, invite a vetted designer from Gildform’s network, review quotes, and approve the final file on the platform. This trades speed for hands-on expertise when a piece truly needs it.
- Keep three questions in front of you for every design: does this serve my customer, does it reflect my brand, and does it set me apart from my competitors. If all three are yes, you have a strong product. If one is no, you have a chance to refine.
Do this now: Keep your first collection small, five to eight pieces. Done is better than perfect. Your first product will not be your best product, and that is exactly how it is supposed to work.
Step 06
Price for profit.
Set numbers that fund the brand you are becoming
Pricing is the decision most founders get most wrong, and almost always in the same direction. They price too low. When you are new you feel you have not earned the right to charge what your product is worth. But underpricing is not humility. It is a trap. A price that is too low signals low quality to the exact customer you want, and it starves the marketing, photography, and community building that would justify a higher price. Price for the brand you are becoming, not the brand you were yesterday.
Use three frameworks together:
- Cost-plus sets your floor. Add up your true landed cost, then divide by one minus your target margin. If your total cost is 25 dollars and you want a 60 percent margin, your minimum viable price is 25 divided by 0.40, which is 62.50.
- Competitive sets your context. Look at what comparable brands your customer already shops charge, and decide whether you sit at, above, or below that on purpose.
- Value-based sets your ceiling. Brand story, quality signals, and scarcity all raise what a piece is worth to the person who wants to own it.
- Aim for a gross margin of 50 to 70 percent. Below 50 percent makes marketing hard to fund. Above 70 percent can price you out of your market. A simple structure for a launch collection is three tiers: entry pieces that let a new customer try the brand at low risk, core pieces where most of your revenue lives, and premium pieces that anchor the perceived value of everything else.
Do this now: Run every piece through the math. Total cost of goods, target margin, minimum viable price, competitor range, final price. Confirm each piece clears at least a 50 percent margin before you publish it.
Step 07
Produce on demand and protect quality.
Made-to-order fulfillment and the customer experience
This is the shift that makes everything else possible. In the old model you bulk-ordered a hundred or more units per style upfront, tied up thousands of dollars, and prayed they sold. On demand flips it. Each piece is made only when a customer buys, so you carry no inventory and take on no unsold risk. Gildform’s factory network is built to turn orders around on a short lead time and ship under your brand.
Two things protect you here. First, photography, because online a customer buys the photo before they ever hold the piece. You do not need a studio. A sheet of white foam board, north-facing window light, a phone in standard mode on a stand, and a cheap ring light will get you there, and AI photography tools can place a single clean shot onto a model or a styled set. Just hold one rule: the product the customer sees has to be the product the customer receives. Use AI to present your work, never to promise something you cannot make.
Second, SKU discipline. Once a product is published and connected to production, do not change its SKU. If you need to update a piece, create a new SKU rather than editing the old one, so orders never break on their way to the factory.
Do this now: Plan one photography session covering a hero shot, an on-body shot, a detail close-up, and a scale shot for each piece. Scale shots alone cut the most common return reason, which is “it was smaller than I expected.”
Step 08
Launch, then build momentum.
Reviews, content, community, and your next 30 days
Open with intention. Before you go wide, do a soft launch to a small, trusted group of friends, family, and existing followers. Tell them exactly what you are doing and invite them to be your first customers and your first reviewers. This generates your first sales, surfaces any friction in checkout, and gives you the social proof a new brand needs before the public launch. Transparency here is not weakness. It invites your community to be part of the story.
Then keep the momentum going. Reviews are the most valuable proof you can collect, so ask for them every time. Show up consistently on one social platform rather than spreading thin across five. Build a community around the brand, because shared creative ambition is one of the strongest forces available to a brand builder. And map your next 30 days so the work continues after launch day, when motivation dips and discipline has to carry you.
Do this now: Pick your soft launch date and your list. Write the announcement in your own voice, personal, not promotional, and send it. Then set three concrete goals for your first month live.
Why this matters most
Start from your why, and let on demand remove the excuse.
If you take one thing from this guide, take this. Everything rests on your why. When you are unsure how to price a piece, name your brand, or choose what to make next, the answer is almost always rooted in the reason your brand exists. Define it first and the hard decisions get easier.
The second thing is what makes starting real instead of theoretical. On-demand manufacturing removed the capital wall that used to keep most people out. You no longer need factory connections or thousands of dollars in upfront stock to build a professional-grade brand. The gap between a design vision and a production reality should not exist, so we closed it. The system is here. What it takes now is clarity and the willingness to start before you feel ready.
What it actually costs to start.
Here is an honest range for launching a small made-to-order collection. The old bulk model is what pushed startup costs into the thousands. With on-demand production, most of your spend goes to design and a handful of physical samples.
| Item | Typical range | What it means with Gildform |
|---|---|---|
| Business registration and EIN | $0 to $200 | An EIN is free from the IRS. The cost is the LLC or sole proprietorship filing, which varies by state. |
| Product design | $0 to $250 / design | Gildform’s AI tools turn a description or sketch into a production-ready 3D model in minutes, so you skip most traditional CAD fees. Bring in a network CAD designer only for complex pieces. |
| First samples (3 to 5 pieces) | $150 to $600 | Made one at a time, on demand. No bulk order, no minimums, no inventory to carry. |
| Packaging (boxes, pouches, cards) | $50 to $200 | Optional at launch. A branded insert card goes a long way while you keep costs low. |
| Online store (Shopify and Gildform app) | from ~$39 / mo | Shopify offers a free trial. The Gildform Shopify app is free to install and connects your store to production. |
| Product photography (DIY and AI) | $0 to $100 | Foam board, window light, a phone, and a cheap ring light. AI photography tools can stage a single clean shot on a model or studio set. |
| Total to launch a small collection | $300 to $1,500 | Most of it goes to design and a few samples, not to stock you hope will sell. |
Ranges are typical starting estimates. Your numbers will depend on materials, complexity, and how many pieces you launch with.
Five mistakes that stall first collections.
01
Underpricing the collection
Pricing too low reads as low quality and starves the marketing and photography that would justify a higher price. Most first-year failures are pricing failures, not demand failures. Price for the brand you are becoming.
02
Skipping the foundation and jumping to product
Designing before you define your why and your customer produces pretty pieces that do not connect. The foundation work is not optional enrichment. It is what makes the product and the price hold together.
03
Launching on five platforms at once
Being everywhere feels like ambition and behaves like distraction. One excellent platform, fully built and consistently maintained, will outperform five mediocre channels every time. Start focused and expand on purpose.
04
Waiting until it is perfect
Your first product will not be your best product, and your launch store will not be your final store. The brands that succeed are the ones that launched imperfectly and kept improving. Give yourself permission to start before you are ready.
05
Treating photography as an afterthought
Online, the photo is the product until it arrives. Weak images are one of the fastest ways to lose a sale you already earned. You do not need a big budget, but you do need clean, honest, well-lit shots of every piece.
Frequently asked questions.
- How much money do I need to start a jewelry business from home?
- With on-demand manufacturing you can launch a small collection for roughly $300 to $1,500, most of which goes to 3D modeling and a handful of physical samples. The old model, bulk-ordering 100 or more units per style upfront, is what pushes startup costs into the thousands, and it is no longer necessary to start.
- Do I need to make the jewelry myself?
- No. You can design and sell jewelry without owning a bench, a kiln, or a casting setup. A manufacturing partner like Gildform produces each piece from your 3D file when an order comes in. Many successful brand founders are designers and marketers, not metalsmiths.
- Is a jewelry business profitable?
- It can be, because fixed costs are low and margins are healthy when you price correctly. Aim for retail at roughly 3 to 4 times your true landed cost so the margin absorbs returns, discounts, marketing, and eventual wholesale. Most first-year failures are pricing failures, not demand failures.
- Do I need a license to sell jewelry from home?
- Requirements vary by location, but most home jewelry businesses need a business registration, often an LLC or sole proprietorship, and, in many US states, a sales tax permit. A resale certificate is also useful because many suppliers require one for trade pricing. Check your state or country's specific rules.
- Should I sell on Etsy or Shopify first?
- Etsy brings existing search traffic but comes with fees and direct price comparison. Shopify gives you brand control and an email list you own, but you must bring your own traffic. Pick one for launch. Running both well at the start is more work than it looks, and Shopify is the platform that connects natively to Gildform for production.
- How long does it take to launch?
- A focused founder can go from idea to a live store with a five to eight piece made-to-order collection in six to ten weeks: about two weeks on niche and design, two to four weeks on CAD and samples, and two weeks on photography, store setup, and launch content.
The work will teach you what you need to know if you are willing to stay in the room long enough to learn it. Stay in the room. The brand you are about to build is worth it.
Karissma Yve, Founder and CEO, Gildform
The full playbook
Every step above, in depth.
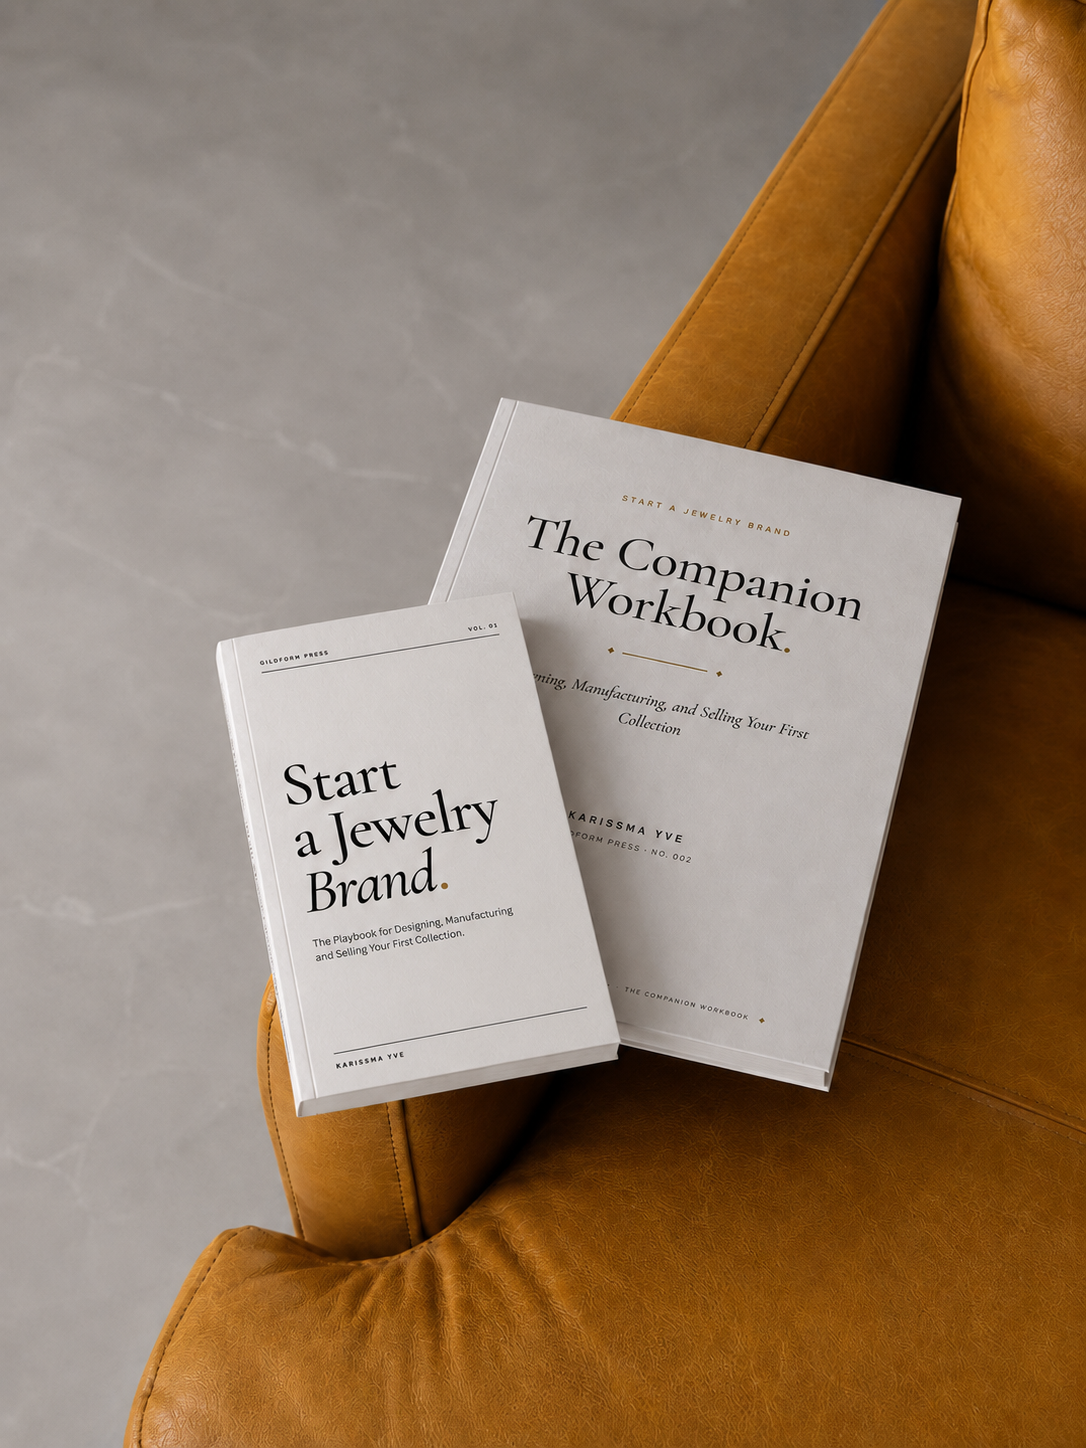
Start A Jewelry Brand: The Playbook for Designing, Manufacturing and Selling Your First Collection walks through the entire process with worksheets, supplier questions, and pricing templates. The book is available now on Amazon.